Foreword
Note: I use the blender interface for freecad (as I’m using blender regularly). Just right-click in the main window and select navigation-style> blender (shown in the 2nd video).
Note: After my initial tests with FreeCad, I opted for blender and the great blendercam for design and gCode generation for complex parts (like airfoils). See my motivation.
| Functionality | Shortcut |
|---|---|
| 3D rotation | middle mouse botton + move the mouse |
| Move the view | shift + middel mouse button + move the mouse |
| Scale | mouse wheel or ctrl + middle mouse button + move the mouse |
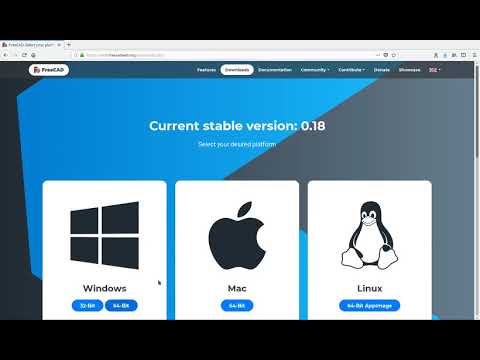
0. Getting Freecad
Freecad provides appImages / binaries for Win / Mac / Linux. Just download and execute it. We will base this tutorial on the current stable release 0.18
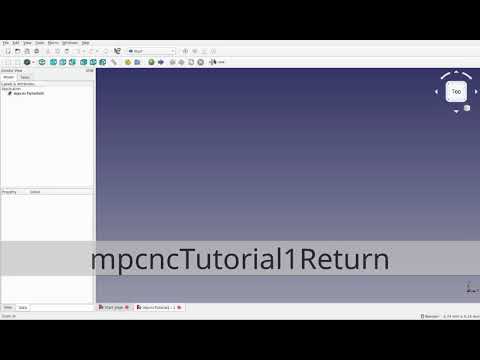
1. Getting started: prepare for body creation
We will open part design and create a sketch (which is a 2D drawing, allowing for constraints etc.) which will then be the basis for the 3D body
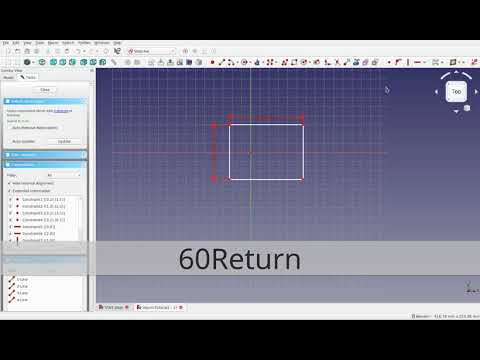
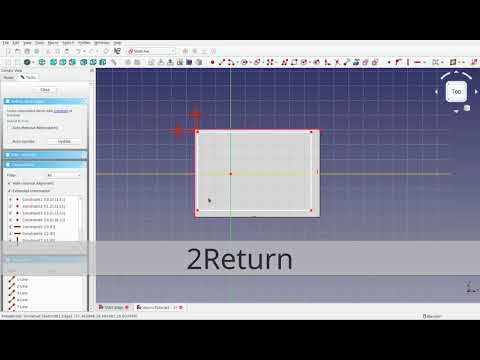
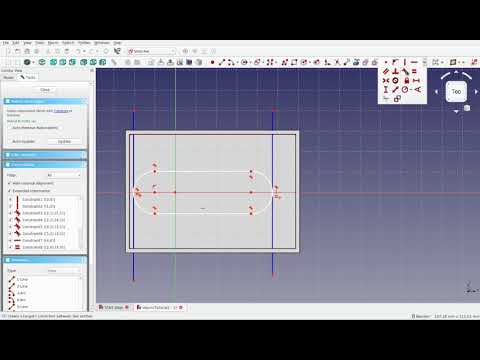
2. Sketching a square, using constraints, extrude to body
3. Adapting the geometry
How to use the underlying sketch (the constraints therein) to adapt the body geometry. This illustrates a basic design feature I like in freecad: all the steps build on oneanother (its like filters / adaptors applied in sequence). You can adapt almost all of them later on an the result will be adapted.

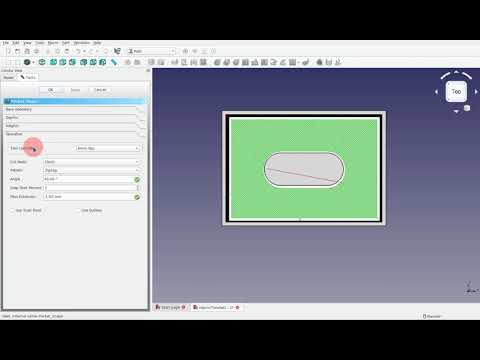
4. Making a pocket
You can easily match a sketch on a face of a 3d body, do some 2d design and use it as the basis of 3D body modification.
5. Adding an island
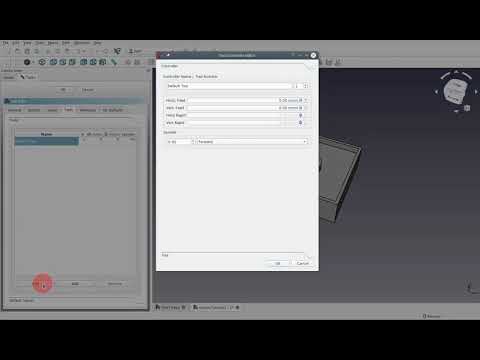
6. Configure the path workbench, create the pocketing operation
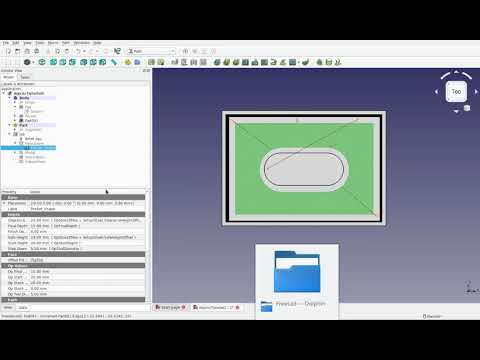
7. Visualize and correct the finishing allowance
In the last video we generated the pocketing operation; checking the visualization we recognize that we had used the wrong sign for the finish allowance and correct it here
8. Export gcode
Open points
- check if we could have holding tabs generated: thanks to @edwardvmills: holding tabs are called ‘tags’ and are available as a ‘Dressup’ on an operation. tutorial tbd.
- we use 5mm in z. add a short video to show how to use a plunge angle and smaller milling depth per pass
- 3d milling
Feel free to dicuss your questions in the related discussion thread